
Resource: Building a raised bed
/Why build a raised bed?
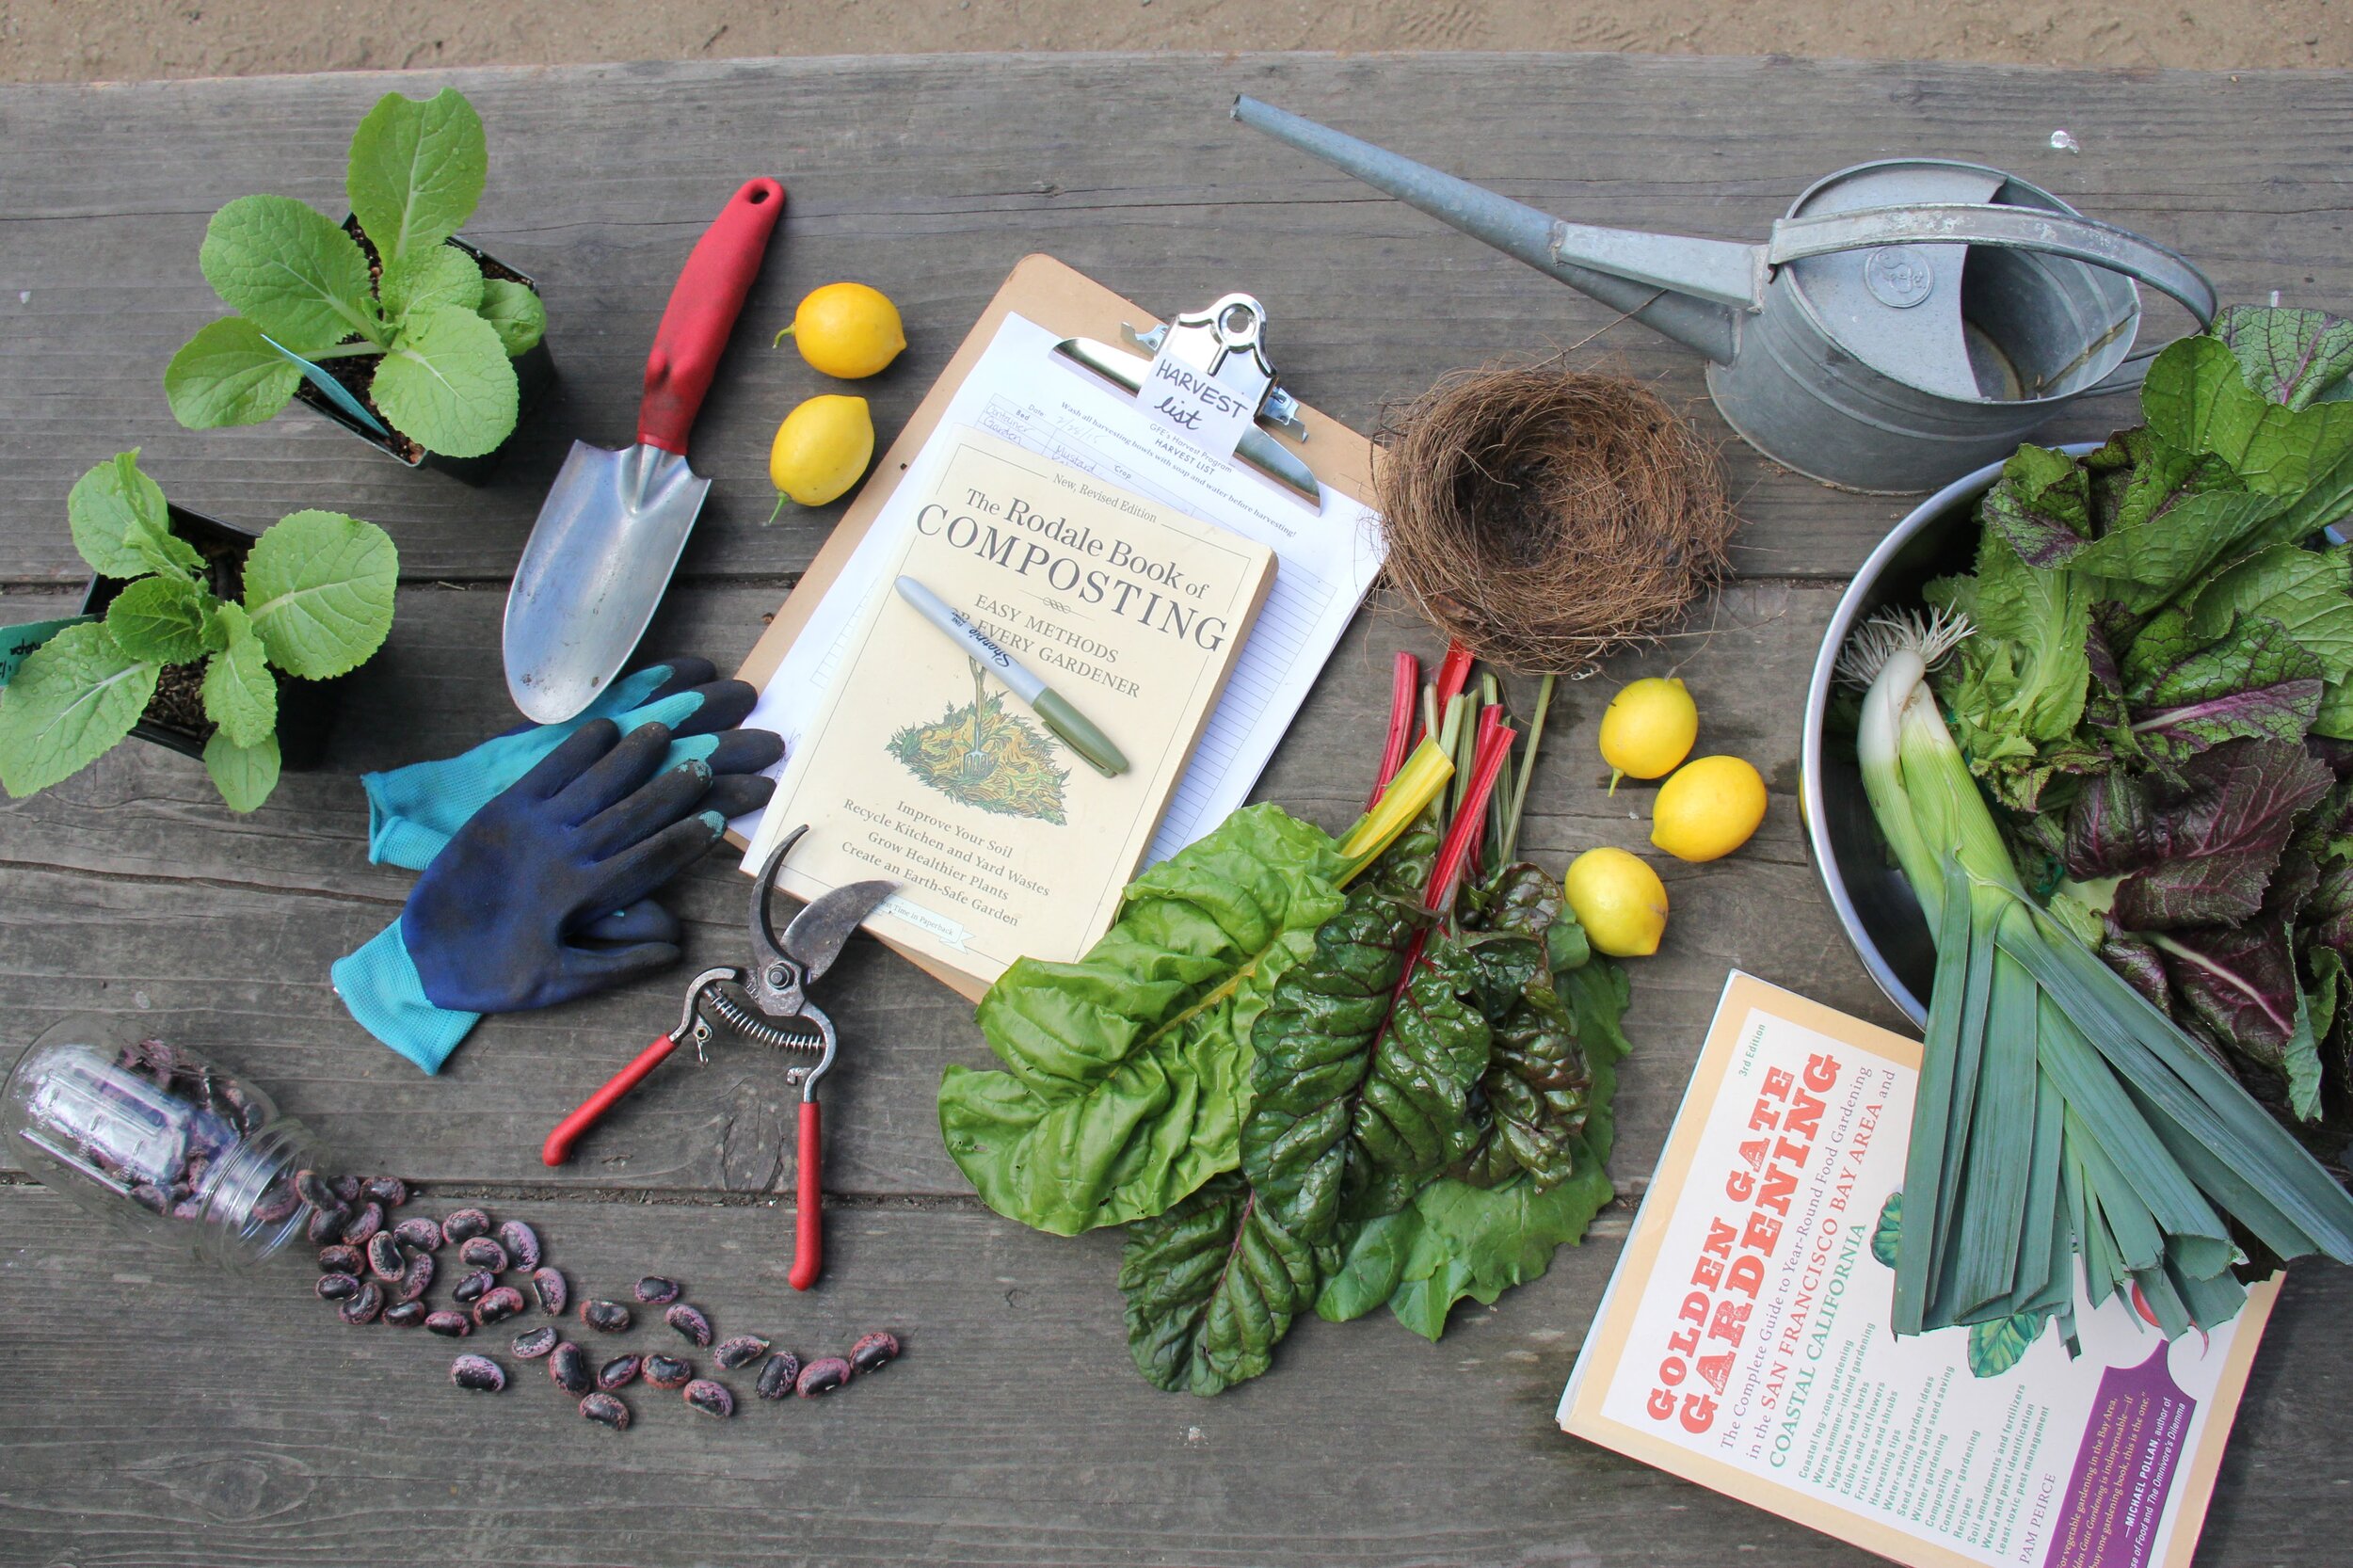
Having a space to cultivate is the first step in growing your own food! Raised beds are a great option to get you started. They have a number of advantages, including:

workshop participants installing a raised bed at GFE.
Increased drainage
Gardening at a comfortable height
More pest and weed control
Planting directly in the ground is not a great idea if you live in the city, because it may contain contaminants and toxic materials. Plants absorb these toxins and when we eat them, they end up in our bodies. Additionally, the soil in SF (on the western half, specifically) is so sandy that you will constantly be working to make it suitable for growing food - not an easy feat! With raised beds, we can control the soil inside and make it ideal for food production.
What are some designs?
Below are some ideas about ideas and plans for raised beds. It doesn’t have to be complicated, nor intimidating!
Wood
This is the most long-lasting option. Choose redwood or cedar for the most rot resistant wood that stands up to the elements of the Bay. Avoid pressure treated wood, as it can leach chemicals into the soil.
A wooden raised bed is also the easiest to attach wire to for pest protection (see below) as you can directly staple the wire into the wood.
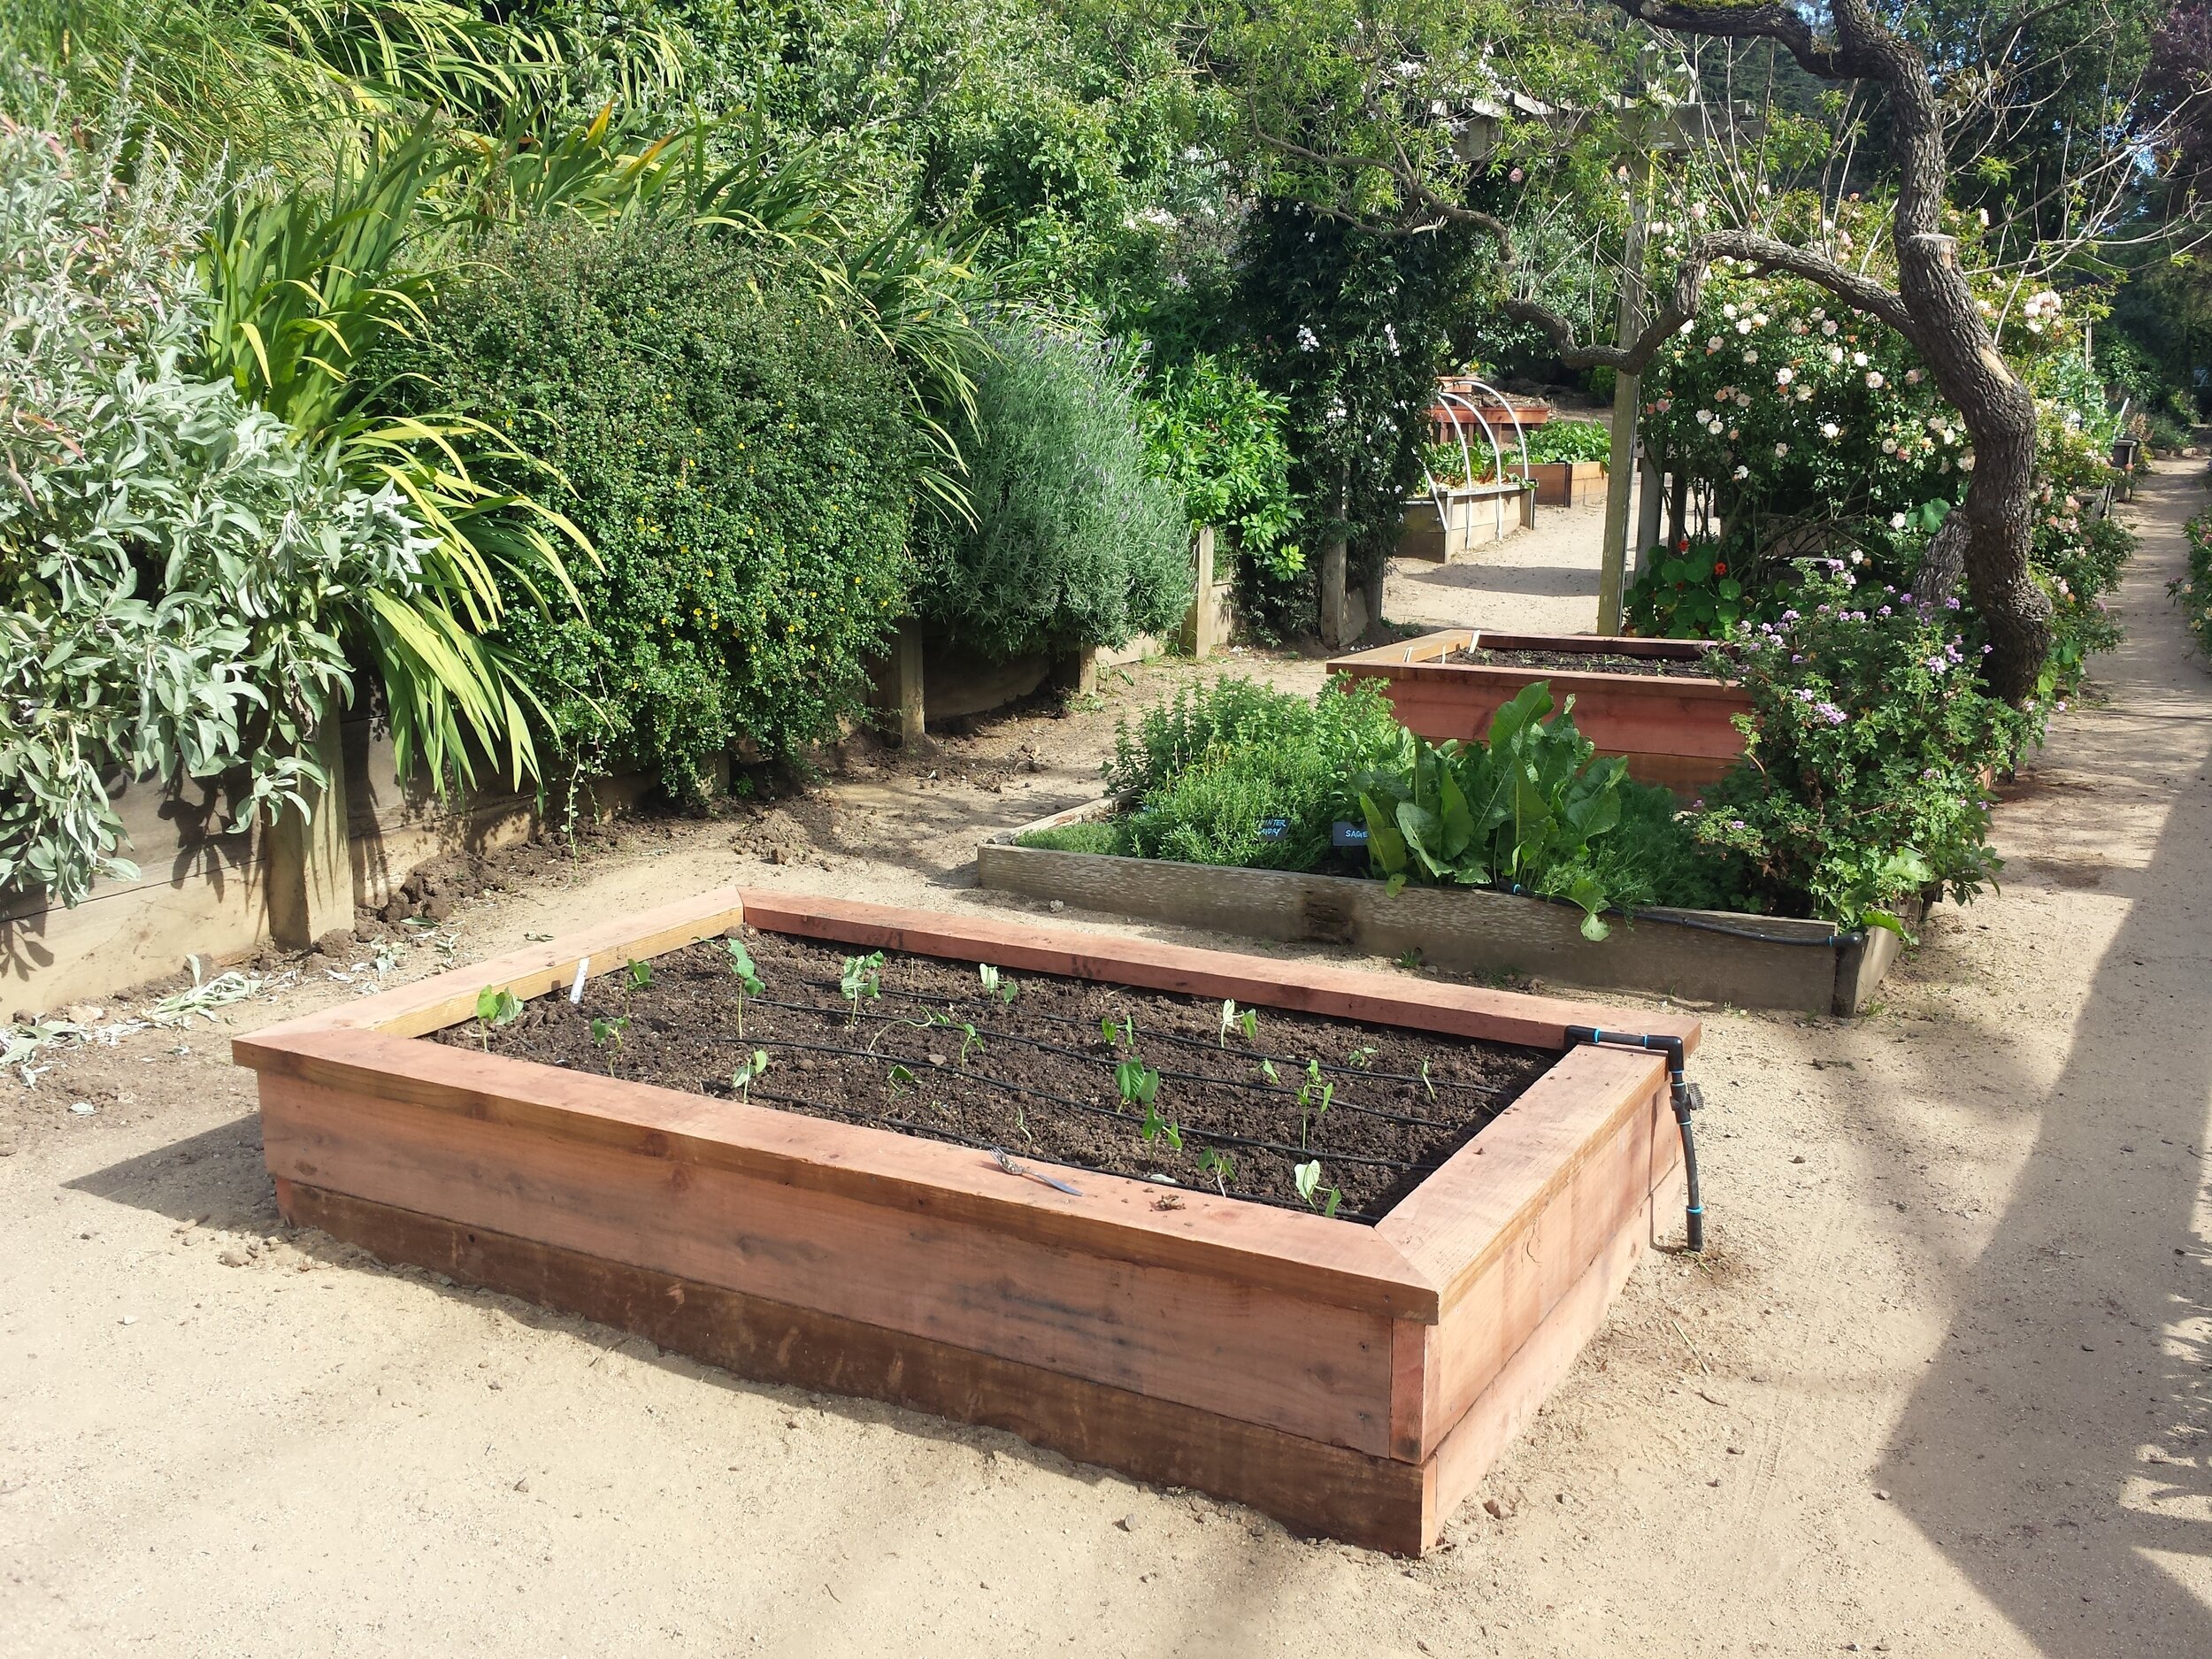
These can be a variety of sizes, but anything wider than 5’ starts to get too difficult to reach across. Check out this detailed raised bed plan from Education Outside - it clearly walks you through all the materials and steps to make a bed about 8’ x 2.5’ x 2’. This is not the exact raised bed that we build at GFE, but is designed for schoolyards and beginner gardeners (and carpenters) so it is sturdy and easy to make.
Here is a an example of the Education Outside bed, but simplified:

Dimensions modified to 2’ x 4’ x 2’ (you can always build more)!
Using extra 2 x 4 pieces to replace the 4 x 4 posts
To make it even simpler, you might consider using 2 x 12 boards instead of two stacked 2 x 6 frames.
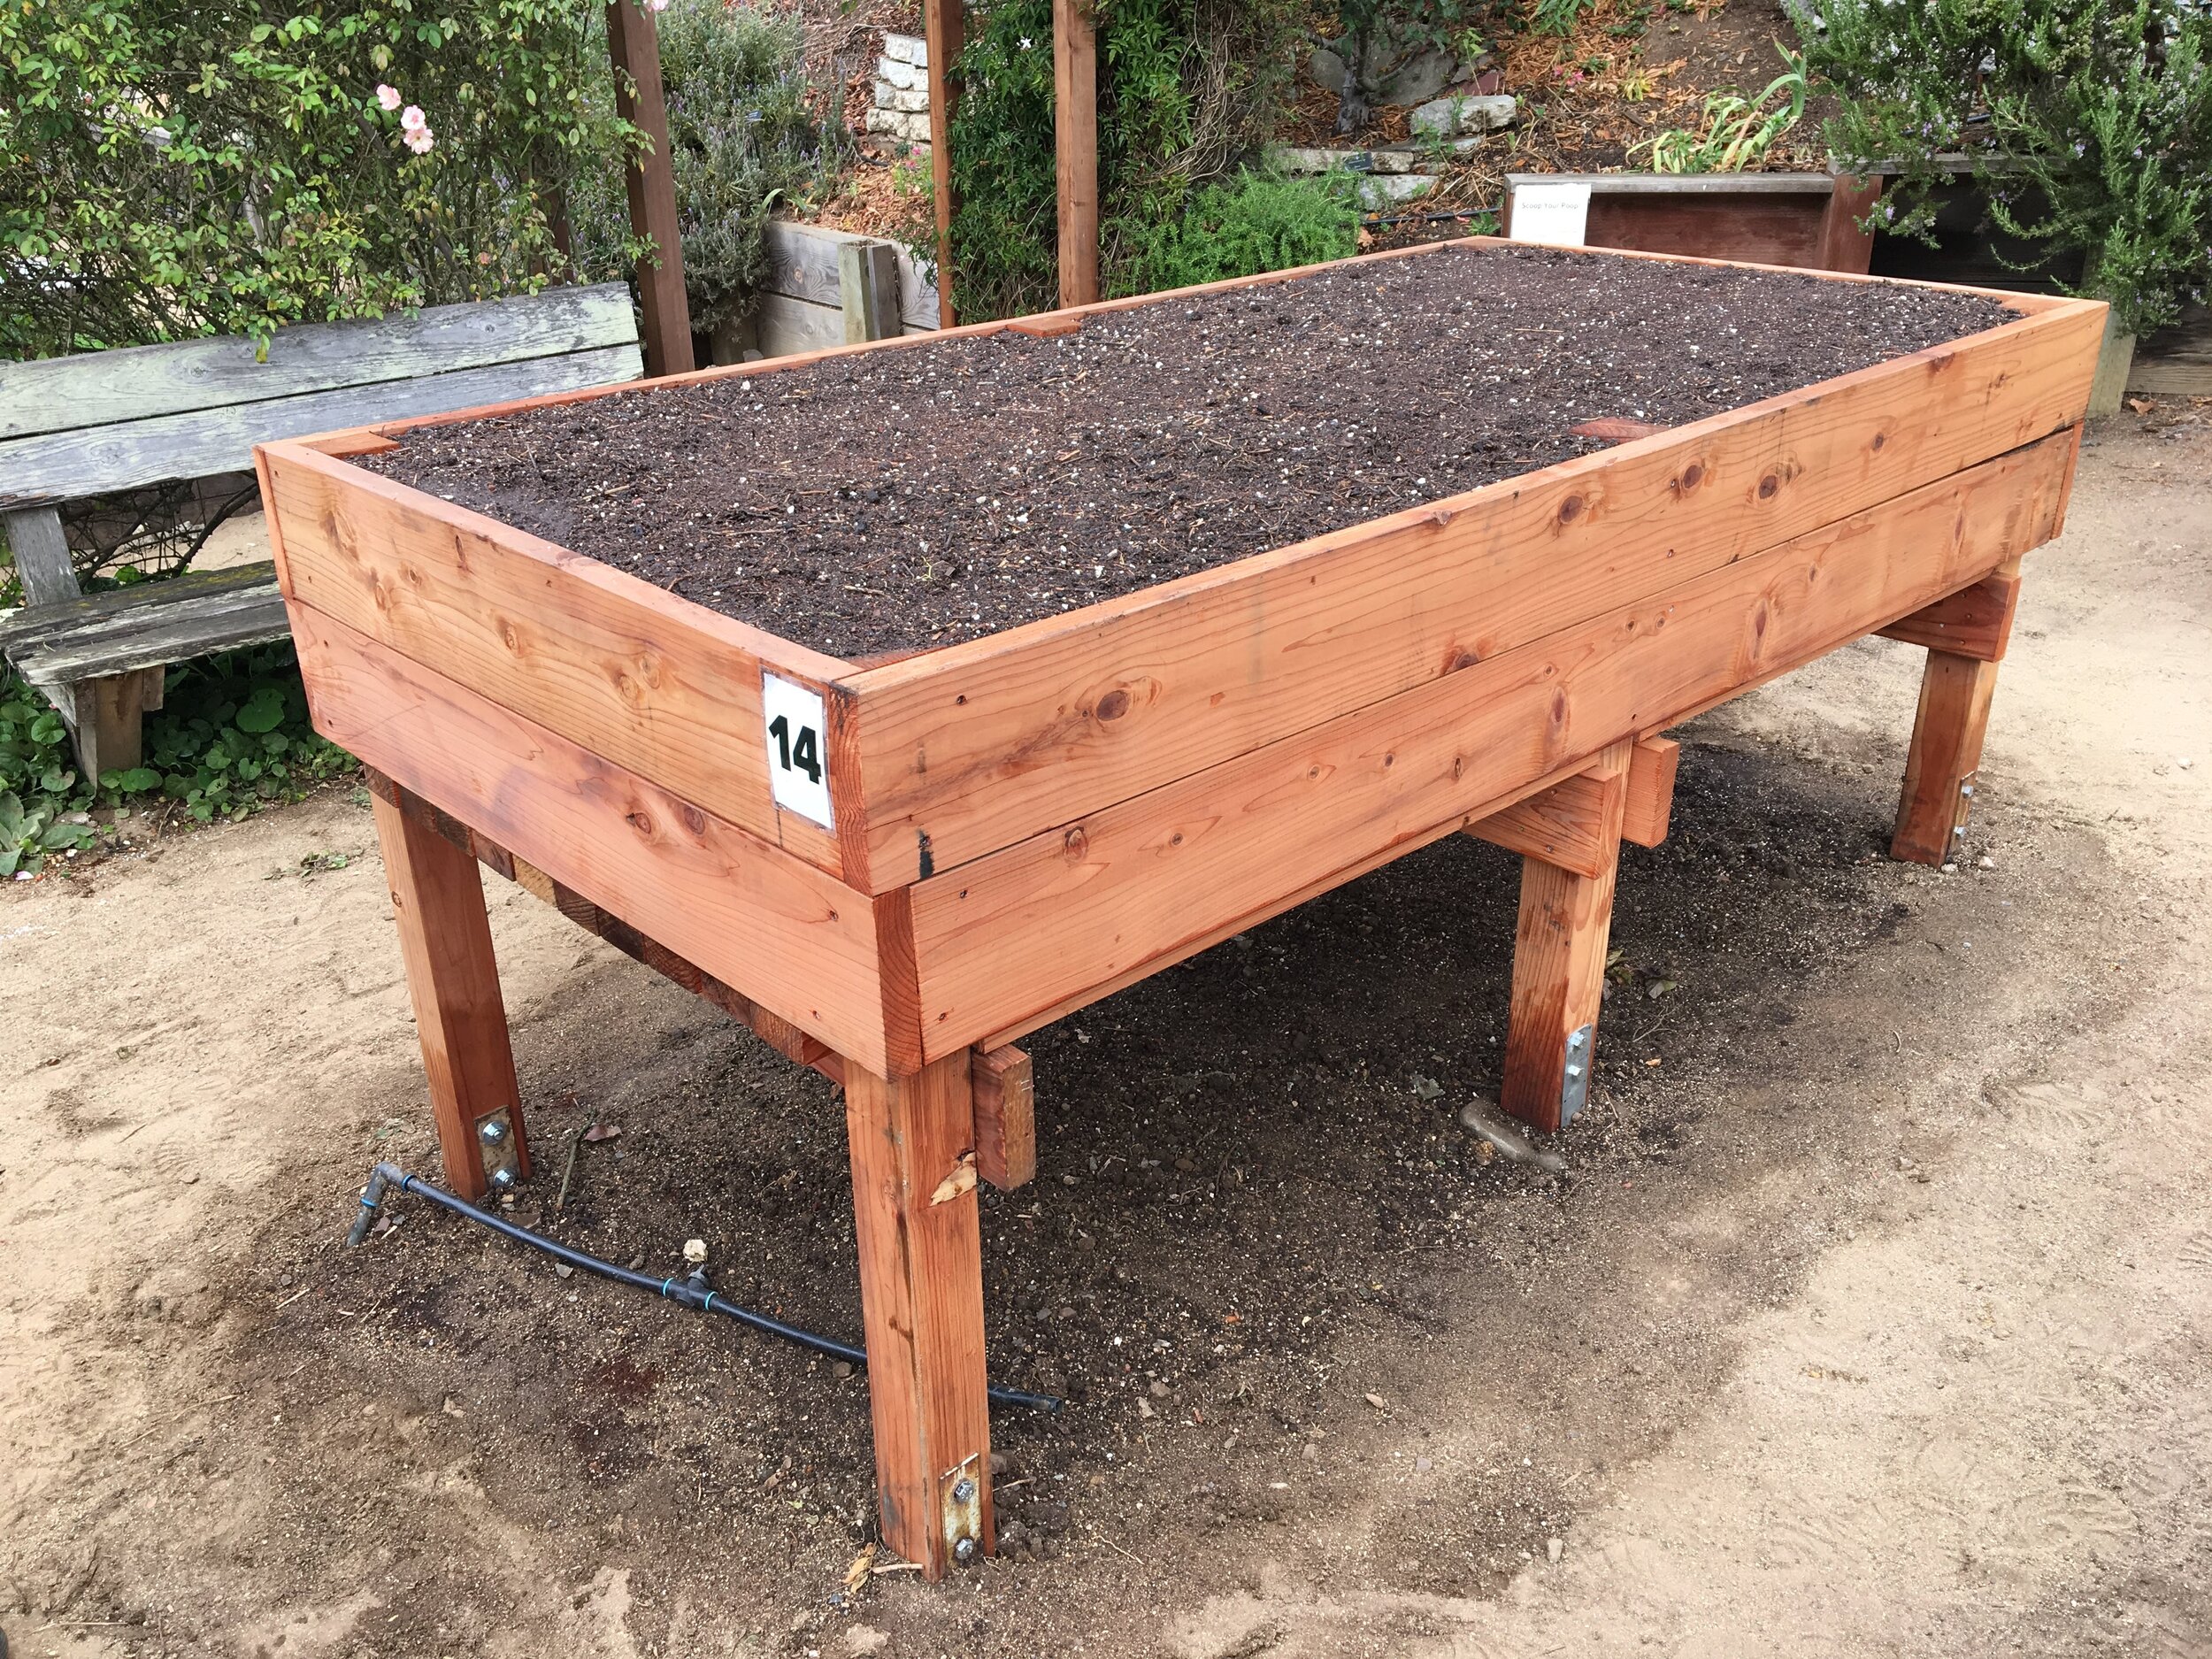
GFE’s ‘bunk bed.’ Perfect at standing height!
A bit more complicated…
Add legs so the bed is even higher off the ground. The ‘bunk bed’ at GFE is comfortable for most adults to stand and garden.
Bender board
Quick and easy, but not high-quality! Bender board is usually used to make borders in pathways (we use a little bit at GFE) . It can be a bit finicky and will need more attention and repair than other options. Keep in mind that if gophers are a problem in your area, you will want to line the bottom of the area with wire to prevent them from getting to your food.

Cinder blocks
Somehow these seem to be lying around everywhere. Start a collection, check out Craigslist, or as a last resort buy some new - they run about $10 per piece. This is a great option to create a bed in a unique shape, and is easily changeable. You can also use the compartments within the cinderblocks to add plants that attract beneficial insects and pollinators.

Rocks or Bricks
Another thing that seems to be abundant in the city! Scrap some together to build a wall at least 6’’ tall. A great option to build beds in shapes other than rectangles and get creative with garden design!


Roof tiles work too!
What goes on the bottom?

Hardware cloth lining the bottom of a raised bed at GFE.
If you are gardening in San Francisco and putting a bed on top of earth, particularly on the western side of the city, it’s important that you line your bed with hardware cloth to protect from gophers. (The name hardware cloth is a bit of a misnomer - it’s not actually cloth but galvanized steel mesh)!
We recommend ¼’’ hardware cloth, like this (but consider buying from a local hardware store, like Center Hardware). Any bigger size and rodents can squeeze their bodies through the holes!
Here’s a time-lapse to see a bit of a the 2’ 6’ x 2’ mentioned above being built and hardware cloth being installed. Ideally, you want the wire on the inside and overlap some of the wood.
If you’re putting the bed on concrete or another impermeable surface, consider lining it with a fabric liner to hold in the soil. Additionally, you might want to consider a way to keep the bed a couple inches above the ground to promote drainage, like adding 2 x 4 planks on the bottom. They don’t have to be attached in to the bed, just something for it to rest on.
What soil should go inside?
Use a high-quality, organic potting soil from a trusted, local nursery. We like Sloat’s organic potting mix (make sure whatever you buy doesn’t have perlite or vermiculite - this is for starting seeds, and is too light for filling a large bed). Always top your soil with with 2-3’’ of compost or other nutrient-rich amendment, like Sloat’s Loam Builder. San Francisco has many resources for obtaining free compost.
To calculate how much soil you need, multiply the dimensions of your bed - this is the cubic footage inside. So if the bed you make is 2’ x 4 ‘ x 2,’ the total square footage is 16 cubic feet. Bagged soil is sold in cubic feet, so you can determine how many bags you will need to buy.
Where can I get materials?
Check out our post about where to get materials during the COVID-19 lockdown. We love to support local business, and during this time it is more important than ever.
If you end up going to a big hardware store like Home Depot or Lowe’s, they can make several cuts of wood for you.
Sourcing tools can often be the hardest part. Try asking a neighbor or friend, or if you live in the East Bay the Oakland Public Library has a tool-lending library.
Questions?
Comment below. We’re happy to help!